How to read furniture drawings: what to look for before installation
Reading drawings well saves more than fast hands. A detailed guide: dimension chains, tolerances, service points, hardware schedules and the questions to ask before arriving on site.
The drawing is intent, the site is reality
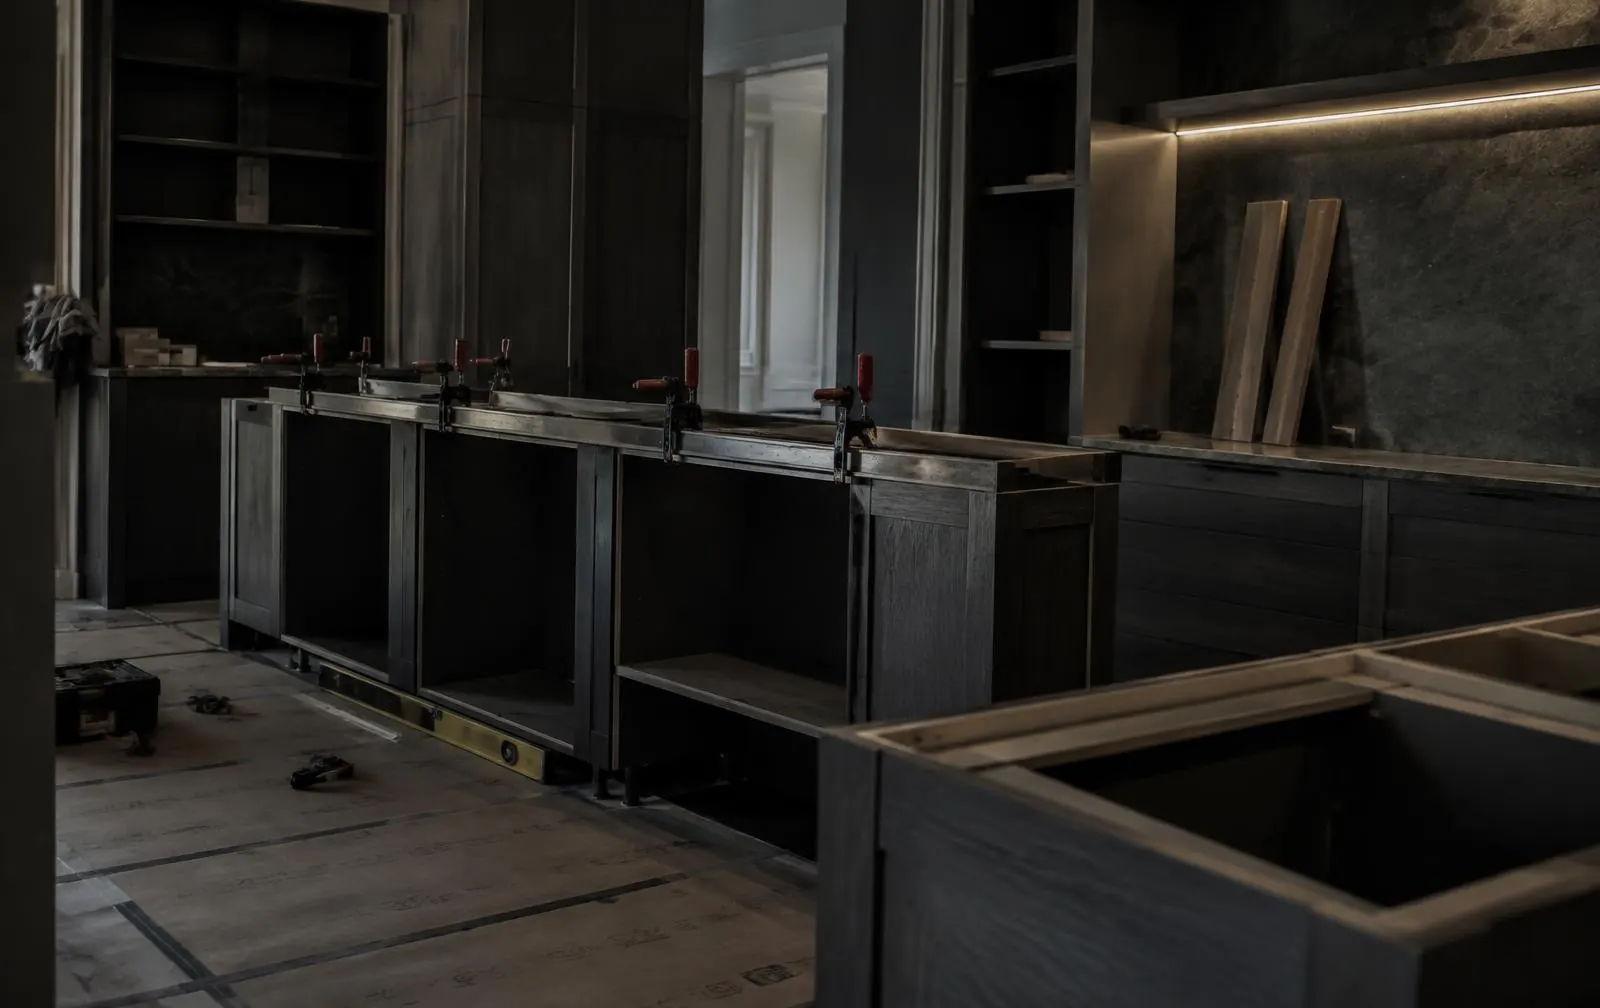
Every furniture project lives in two worlds. The first is the drawing: tidy, square, free of deviation. The second is the site: walls that move, floors with a two-millimetre fall, openings that differ at the top and at the bottom. A fitter's job is not to execute the drawing blindly, but to understand the result it describes and to achieve that result under real site conditions.
That is why reading drawings starts not with numbers but with a question: what should this detail look like when it is finished? Once the answer is clear, the dimensions become a tool rather than an untouchable rule.
The dimension chain matters more than a single number
A single dimension means almost nothing until the whole chain is checked. Add up the module widths, the gaps between fronts, the thickness of end panels and the scribe strip against the wall. Compare the total with the real wall length, measured at three heights: at the floor, at mid-height and near the ceiling.
This is exactly where the 6-10 millimetres appear that later become a visible uneven joint or a front that will not open fully. If the chain does not match, the decision is taken in advance: where the difference will be hidden, which part will be cut, whether a wider scribe is needed.
Tolerances: construction and furniture are not the same
In construction a 5-millimetre deviation is often considered normal. In a premium furniture project the same deviation means a re-made plinth or a gap every guest will notice. With matte handleless fronts the eye catches even a 1-millimetre difference between neighbouring shadow gaps, because they run the full height.
So on every drawing we look for where the tolerance is planned and what absorbs it: a scribe strip, adjustable legs, a technical gap at the ceiling or a hidden joint in the corner. If no such place exists, it has to be agreed with the designer before production rather than argued about on site.
Section details say more than elevations
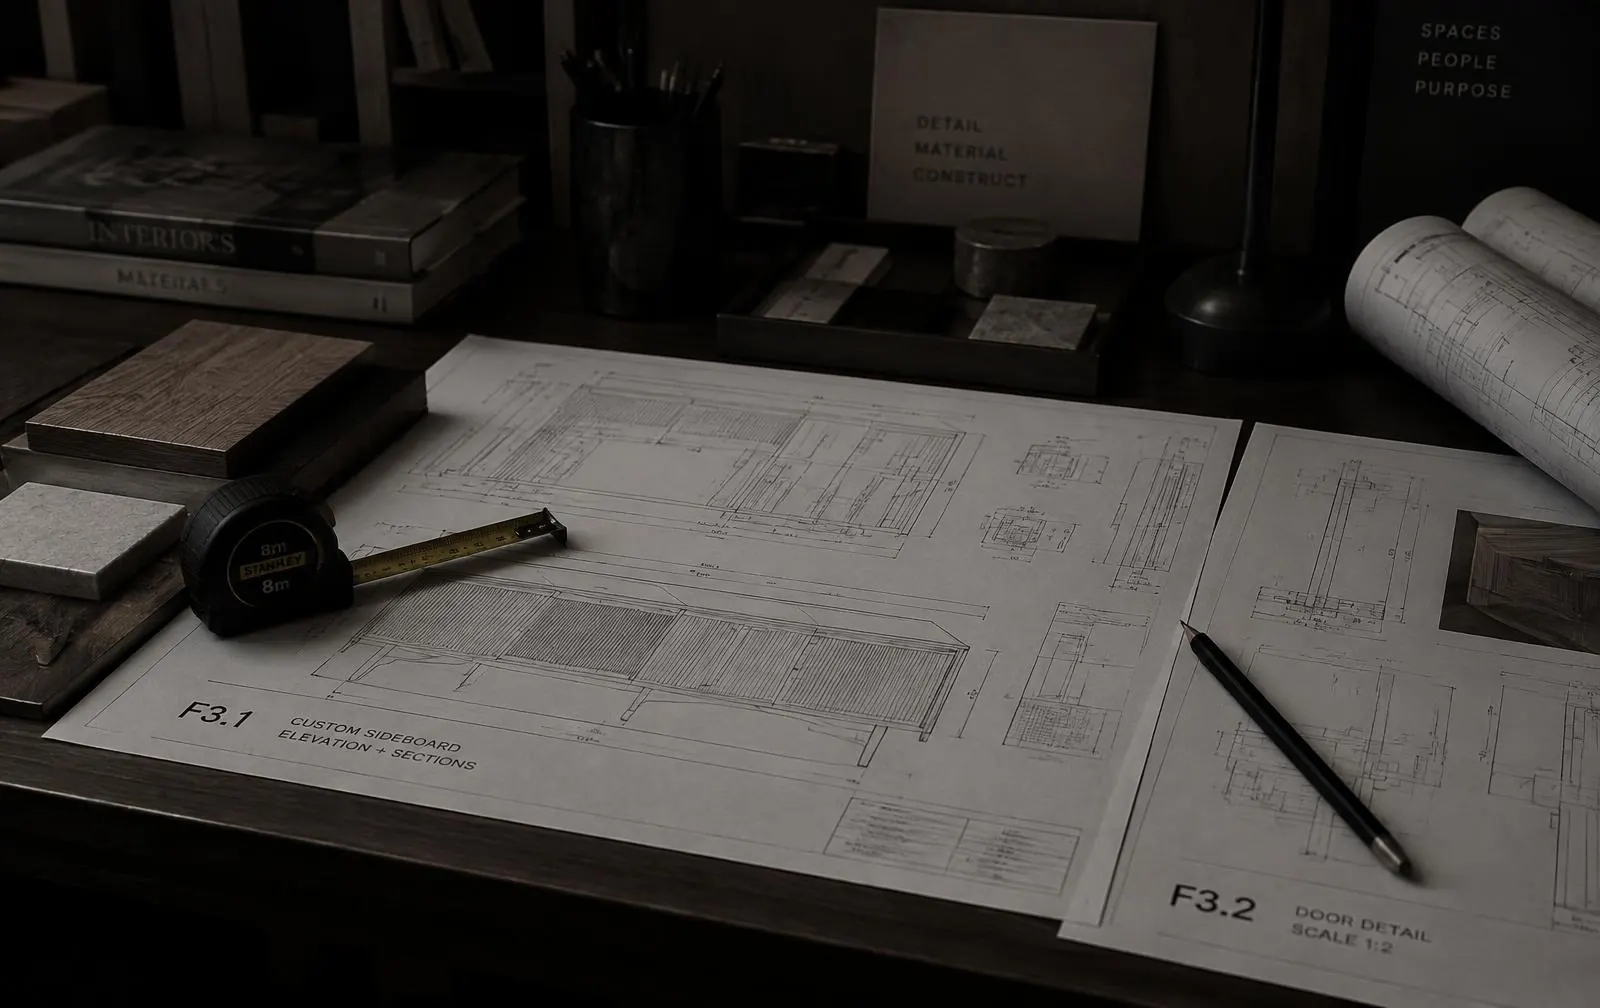
Elevations show what the furniture will look like. Section details show whether it can be installed at all. A section reveals panel thickness, the fixing method, the void behind the carcass, the ventilation opening, the direction of the finish joint. If sections are missing, that is the first sign the project is unfinished and improvisation on site is coming.
The most important sections cut through corners, through the worktop-to-wall junction and through the top of tall units. These three places produce most of the problems that become visible on site.
Service outlets and integrated appliances
Electrical, water and ventilation points differ between the drawing and the site more often than anyone would like. Before installation we cross-check their heights, distance from the corner and depth against the appliance manufacturer's instructions. An integrated fridge, a downdraft extractor or a built-in coffee machine has its own clearance and airflow requirements — these cannot be shrunk for the sake of design.
A practical rule: if a socket is drawn exactly where the carcass back panel lands, it will be a problem. Better to move it a week before installation than to cut an opening in an already fitted and finished carcass.
The hardware schedule and opening directions
The hardware schedule is often the last page and often unread. Yet it decides whether the door next to the corner will open, whether the drawer will pull out fully, whether push-to-open will work with a solid timber front. Before installation we mark every place where two opening elements meet in a corner — the classic conflict zone.
We also check that the specified hardware matches the weight and thickness of the front. A heavy stone-composite or thick solid front on an underrated hinge will look correct for a week and sag within a month.
Questions worth asking early
Who is responsible for sealing? Which way does the door next to the corner open? Where does the finish joint run? Who installs the appliances and when? Will the floor already be laid? Who removes the packaging? Answers obtained before installation cost a conversation. Obtained afterwards, they cost a component and a week.
In our practice a 30-minute drawing review with the designer removes at least three questions that would each have stopped work for half a day on site. It is the cheapest stage of the project.